Accu-Chek Performa - Blood Glucose Meter Quick Start Guide and Error Codes
- Owner's booklet (228 pages) ,
- User manual (180 pages) ,
- Getting started manual (78 pages)
Advertisement
WARNINGS
![]()
Keep new and used batteries away from children. See the User's Manual for additional information.
![]()
- This Quick Start Guide does not replace the User's Manual for your Accu-Chek Performa blood glucose meter. The User's Manual contains important handling instructions and additional information.
- The lancing device is intended for personal use only.


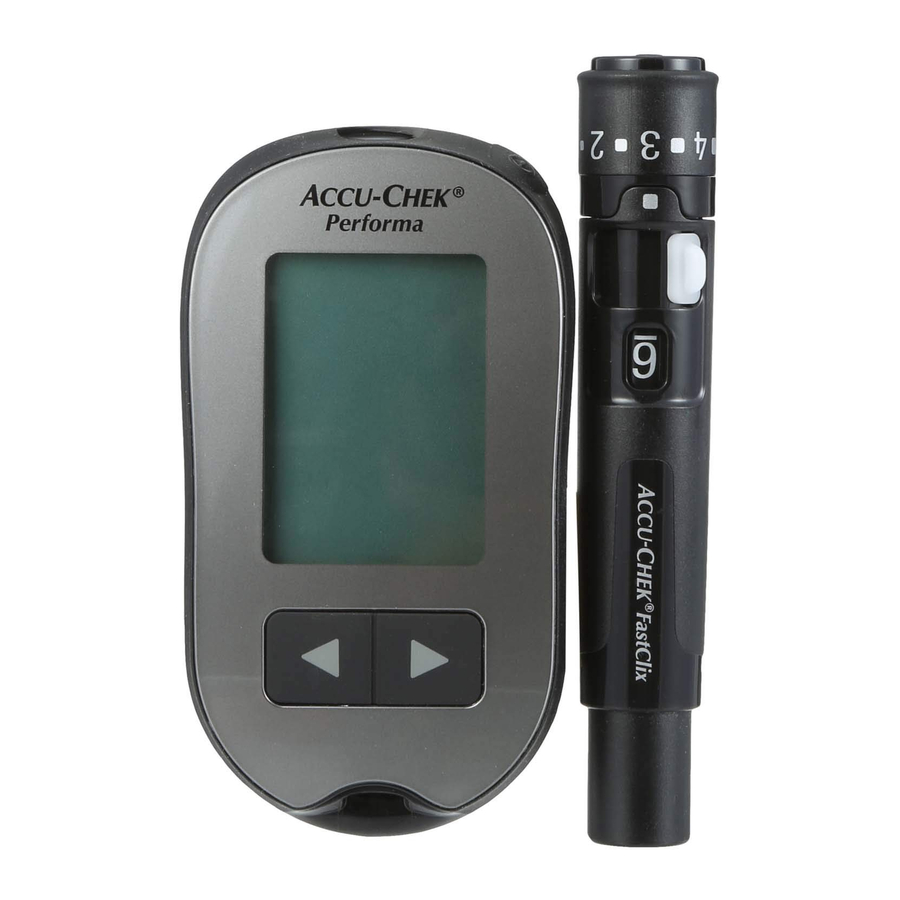
Meter Overview

- Power/Set Button
![]()
- Display
- Right Arrow and Left Arrow Buttons
![]()
- Test Strip Slot
- Battery Door
- Infrared (IR) Window


Setting up the Lancing Device
- Familiarize yourself with the Accu-Chek Softclix lancing device.
![]()
- Remove the lancing device cap by pulling it straight off. Do not twist the cap.
![]()
- Insert the lancet into the lancing device until it clicks.
![]()
- Twist off the lancet's protective cover.
![]()
- Replace the cap on the lancing device. Make sure the notch on the cap lines up with the notch on the lancing device.
![]()
- Adjust the lancet depth to a comfortable penetration level. Start at 2. For tougher skin, dial to a higher number.
![]()
- Press the priming button in as far as it will go, like a pen. Do not press the release button while pressing the priming button. The release button turns yellow when the lancing device is ready.
![]()
- Set the lancing device aside until you are ready to perform a fingerstick.
![]()


Performing a Blood Glucose Test
- Wash and dry your hands before you perform a blood glucose test.
![]()
- Check the use by date on the test strip container. Do not use test strips past the use by date.
![]()
- Remove a test strip from the test strip container. Close the cap tightly.
![]()
- Insert the test strip into the meter in the direction of the arrows until the meter beeps.
![]()
A flashing blood drop symbol appears.
![]()
- Hold the lancing device firmly against the edge of your fingertip and press the yellow release button to prick your finger.
![]()
- Touch the end of the test strip to the blood drop. Do not put blood on top of the test strip.
![]()
The meter beeps and flashes when there is enough blood in the test strip.
![]()
The test result appears on the display after 5 seconds.
![]()
- Remove the lancing device cap. Point the lancet away from you. Slide out the ejector to release the lancet.
![]()


Error Messages
If any of the error messages below appear on the display at any time, refer immediately to the User's Manual, Chapter 5, Display and Error Messages.
E-1
The test strip may be damaged, not properly inserted, or previously used. Remove and reinsert the test strip, or replace it if damaged or previously used.
This error could appear if the cap on the test strip container was not closed tightly. The test strips may have been damaged due to improper storage or handling.
E-3
A meter or test strip error has occurred.
This error message could appear if the cap on the test strip container was not closed tightly. The test strips may have been damaged due to improper storage or handling.
Never make therapy decisions based on an error message.
Repeat the blood glucose test. If a second E-3 error message appears, perform a control test with the control solution and a new test strip. See the section Performing a Control Test in the chapter Control Tests. If you continue to receive an E-3 error message, use an alternate method for testing your blood glucose, such as a back-up meter and test strip. If the alternate method gives an extremely high blood glucose result, or if an alternate method is not available, contact your healthcare professional immediately.
In rare cases, an E-3 error message may indicate that your blood glucose is extremely high and above the system's measuring range. See the Unusual Blood Glucose Results section in the chapter Blood Glucose Tests for other possible causes of the error message.
E-4
Not enough blood or control solution was drawn into the test strip for measurement or was applied after the test had started. Discard the test strip and repeat the blood glucose or control test.
E-6
Blood or control solution was applied to the test strip before the flashing drop symbol appeared on the display. Discard the test strip and repeat the blood glucose or control test.
E-7
An electronic error occurred, or in rare cases, a used test strip was removed and reinserted. Turn the meter off and on, or take the battery out for 20 seconds and reinsert it. Perform a blood glucose or control test.
E-8
The temperature is above or below the proper range for the system. Refer to the test strip package insert for system operating conditions. Move to an area with the appropriate conditions, wait 5 minutes, and repeat the blood glucose or control test. Do not artificially heat or cool the meter.
E-9
The battery may be out of power.
Turn the meter back on. If you are in a cold environment, move to a location with a more moderate temperature and retest. If the message continues to appear after several attempts, replace the battery. If the message reappears after the battery has been replaced, remove the battery, press and hold the Power/Set button for at least 2 seconds, then reinsert the battery with the (+) side facing up.
E-10
The time and date settings may be incorrect. Make sure the time and date are correct and adjust, if necessary.
NOTE
Contact Roche if the error message continues.
LAST UPDATE: 2020-01
Roche Diabetes Care GmbH
Sandhofer Strasse 116
68305 Mannheim, Germany
www.accu-chek.com
ACCU-CHEK, ACCU-CHEK PERFORMA, and SOFTCLIX are trademarks of Roche.

Documents / Resources
References
Download manual
Here you can download full pdf version of manual, it may contain additional safety instructions, warranty information, FCC rules, etc.
Download Accu-Chek Performa - Blood Glucose Meter Quick Start Guide and Error Codes
Advertisement
Thank you! Your question has been received!


Need Assistance?
Do you have a question about the Performa that isn't answered in the manual? Leave your question here.