Table of Contents
Advertisement
Quick Links
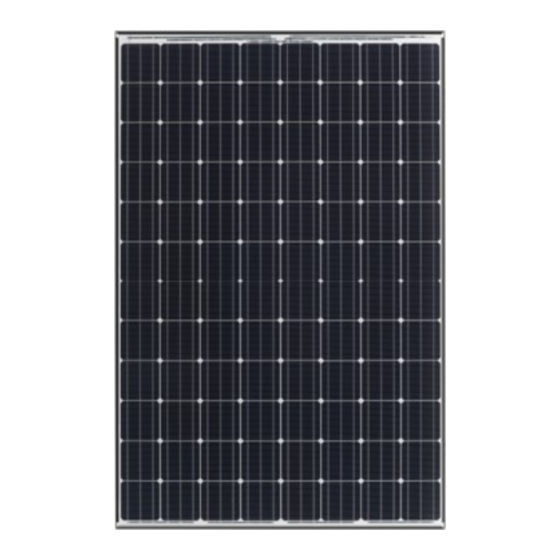
Photovoltaic Module HIT
VBHNxxxSJ53, SJ54, KJ01, KJ02 series
Model No.
VBHN335SJ53, VBHN330SJ53, VBHN325SJ53, VBHN320SJ53
VBHN330SJ54, VBHN325SJ54, VBHN320SJ54
VBHN330KJ01, VBHN325KJ01, VBHN320KJ01
VBHN325KJ02, VBHN320KJ02
VBHNxxxSJ53/54 series
Thank you for choosing Panasonic photovoltaic module HIT
manual completely before you install or use HIT
TM
maintenance, HIT
will provide you with clean, renewable solar electricity for
many years. This manual contains important installation, maintenance and safety
information. The word "module" as used in this manual refers to one or more PV
modules. Retain this manual for future reference.
TM
VBHNxxxKJ01/02 series
TM
. Please read this
TM
. With proper operation and
CONTENTS
・GENERAL INFORMATION
INSTALLATION
・GENERAL
・OPERATING CONDITIONS
・SPECIAL CONDITIONS
・UNPACKING AND HANDLING
・GENERAL
DISCLAIMER OF LIABILITY
CUSTOMER SERVICES
"HIT" is a trademark of the Panasonic Group.
Other product and service names listed in this manual are
trademarks or registered trademarks of respective companies.
2
3
5
6
7
8
9
Advertisement
Table of Contents

Summary of Contents for Panasonic HIT VBHNxxxSJ53 series
-
Page 1: Table Of Contents
・ANTI-REFLECTION GLASS SURFACE CLEANING ・DISPOSAL OF OLD EQUIPMENT DISCLAIMER OF LIABILITY CUSTOMER SERVICES Thank you for choosing Panasonic photovoltaic module HIT . Please read this “HIT” is a trademark of the Panasonic Group. manual completely before you install or use HIT . -
Page 2: Safety Precautions
Do not puncture or damage the back sheet of a For a non-integrated module, the assembly is remove any parts installed by Panasonic. There module. In case of a scratch on the back sheet, to be mounted over a fire resistant roof cover-... -
Page 3: Module Specifications
MODULE SPECIFICATIONS Under normal conditions, a module may experi- Conditions. These conditions may not be fre- ence conditions that produce more current quently observed in actual practice. • and/or voltage than reported at standard Module specifications are shown in Table 1 and component test conditions. - Page 4 Dimensions in mm Back side * The positions of the holes are all symmetrical against the center of the module. Side Front side Section A-A’ Section B-B’ Note) A module is installed using 4 points, symmetrical mounting within setting range (shaded). Setting range parameters are shown in “Mount Locations and Load Resistance”...
-
Page 5: Standards
• STANDARDS MECHANICAL LOADING One terminal is dedicated to each polarity (with the polarity symbols engraved onto the body of VBHNxxxSJ and VBHNxxxKJ series comply with the The method offers a maximum load as shown in the the junction box) (see Figure 2). requirements of IEC61215, IEC61730-1, IEC61730-2 table “Mount location and load resistance”... -
Page 6: Module Installation
Install modules so that air can remains on the glass surface for a long time. To circulate between the roof and the module. avoid water stains, Panasonic recommends to • install modules at a slope steeper than the Do not contact a tip of a mounting bolt to the water gradient. -
Page 7: Wiring
. The temper- junction box may be damaged. ature rating of the conductor is –40—90 °C. • Please contact your Panasonic Authorized • In order to avoid submerging cables and con- Representative with questions regarding other nectors in the water, cables must be fixed electrical connections if needed. - Page 8 (If the glass surface becomes dirty, see section Figure 1. of "anti-reflection glass surface cleaning".) SPECIAL CONDITIONS Panasonic doesn't recommend to install modules in areas such as below circumstance: 1) The ambient temperature and installation place are different from the recommended Operating Condi- tions.
-
Page 9: Maintenance
All Rights Reserved Dec. 20. 2018 • After that, clean surface of glass with wet and SANYO is part of the Panasonic Group and is in charge clean cloth. of the manufacturing process of HIT •... - Page 10 REVISION HISTORY Edition Revision Date Revised Item Revised Content TENTATIVE 2017.12.15 TENTATIVE 2 2017.12.20 Appearance drawing (Fig. 1) Change of Appearance drawing...


