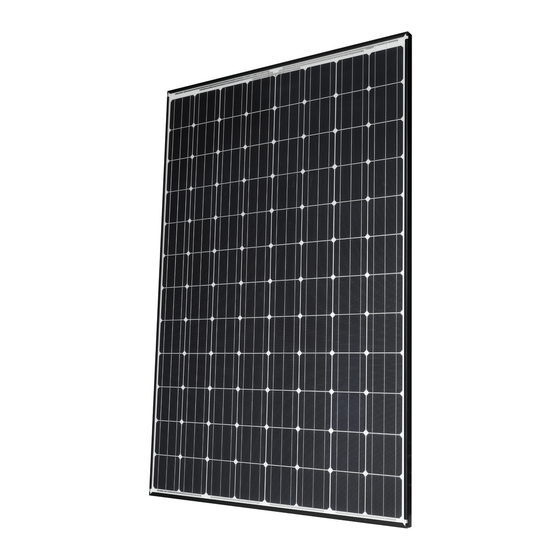
Panasonic HIT VBHN325SA17 General Installation Manual
Vbhnxxxsa17 series photovoltaic module
Hide thumbs
Also See for HIT VBHN325SA17:
- General installation manual (14 pages) ,
- General installation manual (14 pages)
Table of Contents
Advertisement
Quick Links
General Installation Manual
Photovoltaic Module HIT
VBHNxxxSA17 series
Thank you for choosing Panasonic HIT
Please read this manual completely
before installation or use of Panasonic
PV(photovoltaic) modules. With proper
operation and maintenance, Panasonic
®
HIT
will
provide
you
renewable solar electricity for many
years. This manual contains important
installation, maintenance and safety
information. The word "module" as
used in this manual refers to one or
more PV modules. Retain this manual
for future reference. The module is
considered to be in compliance with UL
1703 only when the module is mounted
in
the
manner
specified
mounting instructions below.
SANYO is part of the Panasonic Group
and is in charge of the manufacturing
process for Panasonic HIT
Model No.
®
VBHN325SA17
VBHN330SA17
®
.
with
clean,
by
the
®
.
VBHNxxxSA17 series
Contents
Please read before installation
Note on Specifications
"HIT" is a registered trademark of
Panasonic Group.
Other product and service names listed
in
registered
respective companies.
1
this
manual
are
trademarks
trademarks
of
:3
:3
:3
:3
:3
:4
:4
:5
:5
:6
:6
:6
:6
:6
:7
:7
:7
:7
:8
:8
:8
:8
:9
:9
:9
or
their
Advertisement
Table of Contents

Related Manuals for Panasonic HIT VBHN325SA17


Summary of Contents for Panasonic HIT VBHN325SA17
-
Page 1: Table Of Contents
Unpacking and handling manner specified mounting instructions below. Wiring General SANYO is part of the Panasonic Group Module Wiring and is in charge of the manufacturing Array Wiring ® process for Panasonic HIT Earth Ground Wiring ... - Page 2 Revision Edition Revised Item Revised Content Date New Edition 2017.11.15...
-
Page 3: Safety Precautions
Panasonic. There requirements, which should should only be performed by qualified are no user serviceable parts within followed. licensed... -
Page 4: Installation General
Panasonic HIT The clamps should be made of before installing using your aluminum alloy or other material Panasonic PV modules. This section that will reasonably protect against contains important electrical Notes on Installation a risk of electrolytic corrosion. mechanical specifications. -
Page 5: Operating Conditions :5
Mounting Structure Rail Panasonic does provide warranty for clamps. The module <Cross section of clamps> warranty Panasonic provides shall be Overlap range ≧ 0.24” (6mm) voided if clamps selected by the customer improper material or size Operating Conditions Panasonic requires that modules are... -
Page 6: Specifications
IEC 60904-3. Note: At 75 psf(3600Pa) connect electrical load to avoid the the time of shipment, Panasonic 230-345mm range from edge hazard of electrical shock. guarantees the output level of its Positive load with Short frame... -
Page 7: Array Wiring :7
All modules should be grounded. All Lay-in lugs or grounding clips can be hardware (nuts, bolts, star washers, structures or metallic components in used ground Panasonic spilt-ring lock washers, flat washers direct contact with the modules or modules. Both methods... -
Page 8: Module Terminations :8
washers and the like have not been Using a lay-in lug with bolt and nut Connectors between modules must evaluated for electrical conductivity If using this method, please follow be inserted until they click. or for use as grounding devices and instructions previous section... -
Page 9: Maintenance :9
within the specified system voltage, As part of Panasonic’s policy of so that you do not need any other continuous improvement, Panasonic additional bypass diodes. reserves the right to change product specifications at any time without prior notice. MAINTENANCE ... - Page 10 Table.1 Approved connectors list Manufacturer Model # Contact Information PV-KST4, PV-KBT4 followed by /2.5 or /6, followed by "I" or "II", followed by -UR. or - may be followed by additional suffixes, may be followed by suffix numbers and letters. PV-PLS-S, PV-PLS-B, may be followed by suffix numbers and letters, may be followed by suffix numbers and Multi-Contact AG...
- Page 11 Figure 3.2 (Method 1) Glass Grounding method using bolt and nut Backsheet Frame (Longer side) Note: ground holes illustrated in Figure 3.1. Nut (Stainless steel) Flat washer (Stainless steel) *If using a brass cup washer, a Star washer (Stainless steel) flat washer must be inserted Grounding hole between the cup washer and...
- Page 12 Figure 3.4 Grounding method Glass Frame (Longer side) Using Grounding Clip with bolt and nut Backsheet Note: ground holes illustrated in Figure 3.1. Grounding hole Grounding Clip Assemblies: Tyco (0.205” diameter (5.2mm)) Electronics 1954381-2 8-32 Screw (Stainless steel) Length (not less than 0.63’‘(16 mm) not more than 0.78’‘(20 mm)) Nut (Stainless steel) Copper wire...
- Page 13 SPECIFICATIONS Electrical Specifications Model VBHN330SA17 VBHN325SA17 Cell Number in Series Rated Power, Watts (Pmax) 58.0 57.6 Maximum Power Voltage (Vpm) 5.70 5.65 Maximum Power Current (Ipm) 69.7 69.6 Open Circuit Voltage (Voc) 6.07 6.03 Short Circuit Current (Isc) Cell Type Silicon hetero-junction* Silicon hetero-junction* Maximum System Voltage...
- Page 14 Dimensions Dimensions in mm (VBHNxxxSA17) Label Junction Backside Front Side Mount Locations Note) A module is installed using 4 points, symmetrical mounting within setting range (shaded). Setting range parameters are shown in “Mount Locations and Load Resistance” table. Mount Locations and Load Resistance Mounting location range 50 psf 112 psf...