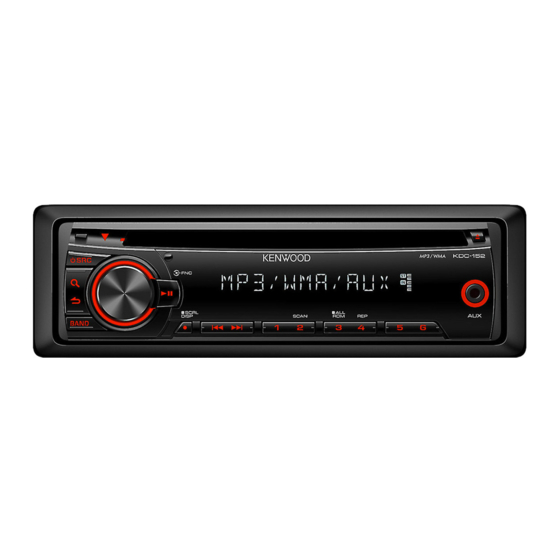
Kenwood KDC-152 Instruction Manual
Cd-receiver
Hide thumbs
Also See for KDC-152:
- User manual ,
- Instruction manual (44 pages) ,
- Service manual (44 pages)
Table of Contents
Advertisement
Take the time to read through this instruction manual.
Familiarity with installation and operation procedures will help you obtain the best performance from
your new CD-receiver.
For your records
Record the serial number, found on the back of the unit, in the spaces designated on the warranty card, and in the
space provided below. Refer to the model and serial numbers whenever you call upon your Kenwood dealer for
information or service on the product.
Model KDC-152 Serial number
KDC-152
CD-RECEIVER
INSTRUCTION MANUAL
AMPLI-TUNER LECTEUR DE CD
MODE D'EMPLOI
REPRODUCTOR DE DISCOS COMPACTOS RECEPTOR DE FM/AM
MANUAL DE INSTRUCCIONES
Advertisement
Table of Contents

Related Manuals for Kenwood KDC-152


Summary of Contents for Kenwood KDC-152
-
Page 1: Instruction Manual
Record the serial number, found on the back of the unit, in the spaces designated on the warranty card, and in the space provided below. Refer to the model and serial numbers whenever you call upon your Kenwood dealer for information or service on the product. -
Page 2: Table Of Contents
Direct Music Search using the remote installation, consult your Kenwood dealer. controller (RC-405) When you purchase external components, Listening to the other external check with your Kenwood dealer to make components sure that they work with your model and in your area. Function settings... -
Page 3: Preparation
Preparation How to attach/detach the faceplate How to prepare the remote controller (RC-405) When you use the remote controller for the first time, pull out the insulation sheet. Insulation sheet Do not expose the faceplate to direct sunlight, excessive heat, or humidity. Also avoid places with too much dust or the If the effectiveness of the remote controller decreases, replace the battery. -
Page 4: Basic Operations
Basic operations Loading slot Ejects the disc Remote sensor Do not expose to bright sunlight. Display window Volume knob Auxiliary input jack Detaches the faceplate The following indicator lights up when... ST: A stereo broadcast is received (FM). IN: A disc is in the unit. Maintenance Cleaning the unit: Wipe off the dirt on the panel with a dry silicon or soft cloth. -
Page 5: Muting Upon Reception Of Phone Call
When you press or hold the following button(s)... Remote Main unit General operation controller Turns on. — Turns off if pressed and held. Selects the available sources (TUNER, CD, AUX, STANDBY), if the power is turned on. • If the source is ready, playback also starts. “CD” is selectable only when a disc is loaded. -
Page 6: Getting Started
Getting started Canceling the display Adjusting the clock demonstration 1 Press the volume knob to enter [FUNCTION] mode. The display demonstration is always turned 2 Turn the volume knob to select on unless you cancel it. [SETTINGS], then press to enter. When you turn on the power (or after you 3 Turn the volume knob to select [CLOCK], reset the unit), the display shows:... -
Page 7: Listening To The Radio
Listening to the radio Hold for about 2 seconds to memorize the current station. Press briefly to recall memorized station. 1 Press SRC to select “TUNER.” 2 Press BAND repeatedly to select a band (FM1/ FM2/ FM3/ AM). 3 Press 4 / ¢ to search for a station. Adjust [SETTINGS] mode settings While listening to the radio... -
Page 8: Listening To A Disc
Listening to a disc Ejects the disc. (“NO DISC” appears and “IN” indicator goes off.) Press to select track/file. Hold to fast-forwards/reverses. Press to select next folder. 1 Press SRC to turn on the power. 2 Insert a disc into the loading slot. Playback starts automatically. -
Page 9: Direct Music Search Using The Remote
Direct Music Search using the Using the remote controller (RC-405) In playback mode: remote controller (RC-405) FM+ / AM– : Selects folder. • Not available if Random Play or Scan Play is 4 / ¢ ( + ) : Selects track/file. selected. -
Page 10: Function Settings
Function settings 1 Press the volume knob to enter [FUNCTION] mode. 2 Turn the volume knob to select [AUDIO CTRL] or [SETTINGS], then press to enter. 3 Turn the volume knob to make a selection, then press to confirm. See table below for selection. Repeat step 3 until the desired item is selected/activated. -
Page 11: Troubleshooting
Troubleshooting Symptom Remedy/Cause Sound cannot be heard. Adjust the volume to the optimum level. Check the cords and connections. “PROTECT” appears and no operations can be Check to be sure the terminals of the speaker leads are covered with done. insulating tape properly, then reset the unit. -
Page 12: Installation/Connection
For safety's sake, leave Be sure to ground this unit to the car's this work to professionals. chassis again after installation. If you experience problems during installation, consult your Kenwood dealer. -
Page 13: Wiring Connection
To the terminal that is grounded when either Brown the telephone rings or during conversation. (Mute control wire) (To connect the Kenwood navigation system, consult your navigation manual.) Car fuse box Ignition key switch Red (Ignition wire) -
Page 14: Installing The Unit
Installing the unit Connect the wiring harness to the unit. Other wiring connection has been completed earlier. (page 13) Before attaching, make sure the direction of the escutcheon is correct. Dashboard of your car (Wider hooks on the top side.) Bend the appropriate tabs to hold the mounting sleeve firmly in place. -
Page 15: Specifications
Total harmonic distortion (1 kHz): 0.01 % Signal-to-Noise ratio (1 kHz): 105 dB Subject to change without notice. Dynamic range: 90 dB MP3 decode: Compliant with MPEG-1/2 Audio Layer-3 WMA decode: Compliant with Windows Media Audio KENWOOD STEREOS CAR STEREOS...