Table of Contents
Advertisement
Quick Links
Advertisement
Table of Contents

Related Manuals for Bosch VideoJet X10/X20/X40


Summary of Contents for Bosch VideoJet X10/X20/X40
- Page 1 VideoJet X10/X20/X40...
- Page 2 EN | 2 Quick Installation Guide | VideoJet X10/X20/X40 Attention You should always make yourself familiar with the required safety measures in the cor- responding chapter of the user's manual (see CD-ROM supplied). You will find more important details on the installation and on the operation of the unit in the manual.
-
Page 3: Contents Of Delivery
VideoJet X10/X20/X40 | Quick Installation Guide EN | 3 Contents of Delivery • VideoJet X10, VideoJet X20 or VideoJet X40 Network Video Server • Drilling template • 4 spring clamps • Product CD • Quick Installation Guide Bosch Security Systems | 2006-12 | V2.5... -
Page 4: Unpack The Box
Quick Installation Guide | VideoJet X10/X20/X40 1. Unpack the Box • Please check the delivery for completeness and integrity. • Have your unit checked by Bosch Security Systems if you detect any damages! Bosch Security Systems | 2006-12 | V2.5... -
Page 5: Connect The Camera(S)
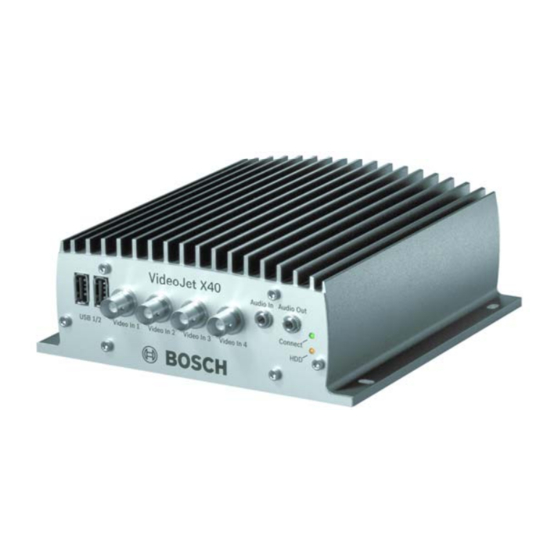
VideoJet X10/X20/X40 | Quick Installation Guide EN | 5 2. Connect the Camera(s) • VideoJet X10: Connect the camera with the Video In socket. • VideoJet X20: Connect one camera to each, the Video In 1 socket and the Video In 2 socket. -
Page 6: Connect The Audio Components
EN | 6 Quick Installation Guide | VideoJet X10/X20/X40 3. Connect the Audio Components • Use the Audio In and Audio Out jack sockets for audio line connections. Bosch Security Systems | 2006-12 | V2.5... -
Page 7: Connect The Alarm Switches And Relay Connections
VideoJet X10/X20/X40 | Quick Installation Guide EN | 7 4. Connect the Alarm Switches and Relay Connections • Connect the alarm switches to the corresponding terminals. • Connect the relay connections to the corresponding terminals. Bosch Security Systems | 2006-12 | V2.5... - Page 8 EN | 8 Quick Installation Guide | VideoJet X10/X20/X40 5. Insert the SFP Module • If necessary, insert an SFP module into the SFP socket. Bosch Security Systems | 2006-12 | V2.5...
- Page 9 VideoJet X10/X20/X40 | Quick Installation Guide EN | 9 6. Connect to the Network and Power Supply • Connect the unit to the network via the ETH 1 socket. • If necessary, set up a redundant network connection or connect an iSCSI RAID system using the ETH 2 socket.
-
Page 10: Configure The Ip Address
EN | 10 Quick Installation Guide | VideoJet X10/X20/X40 7. Configure the IP Address • Install the program Configuration Manager from the CD-ROM provided. If the CD-ROM does not start automatically doubleclick the index.htm file. • Start the Configuration Manager when installation is completed. The network is scanned for compatible devices automatically. -
Page 11: Test The Configuration
VideoJet X10/X20/X40 | Quick Installation Guide EN | 11 8. Test the Configuration • Launch the Web browser and enter the IP address of the unit (e.g. http://192.168.0.40) to check that the unit is properly connected to the network. Note: Set the graphics card of the computer to 16-bit or 32-bit color depth. Otherwise the com- puter cannot display the video images. - Page 12 Bosch Sicherheitssysteme GmbH Bosch Security Systems B.V. Robert-Koch-Straße 100 P.O. Box 80002 85521 Ottobrunn 5600 JB Eindhoven Germany The Netherlands www.bosch-sicherheitssysteme.de www.boschsecuritysystems.com © 2006 Bosch Sicherheitssysteme GmbH Subject to change. F.01U.033.683/1206/QIG_en/1...