Advertisement
Quick Links
Advertisement

Related Manuals for Yamaha MQT-8023


Summary of Contents for Yamaha MQT-8023
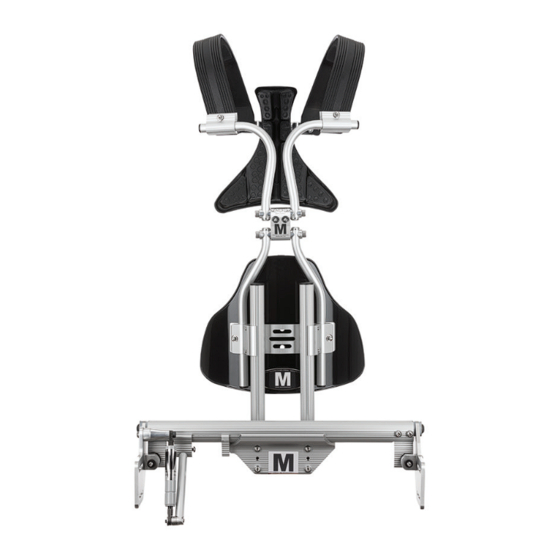
- Page 1 YAMAHA MARCHING TOMS AND RANDALL MAY FREE FLOATING LUG BRIDGE ™ ASSEMBLY GUIDE...
-
Page 2: Video Link
CONTENTS PAGE 1 PRE-ASSEMBLY PAGE 2 ASSEMBLY PAGE 5 MQT-8023 PAGE 5 MQT-0234 PAGE 6 MQT-68023 PAGE 6 MQT-60234 PAGE 7 MQT-668023 PAGE 7 MQT-660234 PAGE 8 MQT-80234 PAGE 8 MQT-680234 PAGE 9 VIDEO LINK... -
Page 3: Pre-Assembly
NO: Do NOT proceed. The carrier's tom rail is essential to properly assemble these drums. RM-ABSF-Q RM-FCEP-Q *Note: Optional gas shock system shown Tom Rail - only available on the RM-ABSF-Q Yamaha Marching Toms and Randall May Free Floating Lug Bridge Assembly Instructions - V0823... - Page 4 FFLBs have been pre-installed on your drums (image A) Lay out the shells as shown in the configuration diagram Nestle the Yamaha lug casing inside the FFLBs (image B) Attach the casing to the shell utilizing the black screws and washers Yamaha Marching Toms and Randall May Free Floating Lug Bridge Assembly Instructions - V0823...
- Page 5 NOTE: The height of the bridge is important. Image D shows the top half of the bolt head. This is the ideal height for the bridge on both shells. Yamaha Marching Toms and Randall May Free Floating Lug Bridge Assembly Instructions - V0823...
- Page 6 Once the rail is in place, tighten using the ⁄ " wrench Assembly without back rail. Assembly with back rail. Images show drums without heads, hoops and tension rods. Yamaha Marching Toms and Randall May Free Floating Lug Bridge Assembly Instructions - V0823...
- Page 7 LUG CASINGS REPLACED BE INSERTED INTO FFLB: WITH METAL BRIDGE: 10": 3, 5 13": 7 13": 6 BADGE BADGE 12": 3, 5 14": 2 14": 3 Yamaha Marching Toms and Randall May Free Floating Lug Bridge Assembly Instructions - V0823...
- Page 8 10": 3, 5 13": 7 6": 4 13": 6 (as close as possible) 12": 3, 5 14": 2 12": 4 14": 3 BADGE Yamaha Marching Toms and Randall May Free Floating Lug Bridge Assembly Instructions - V0823...
- Page 9 10": 3, 5 13": 7 10": 4 12": 4 14": 3 (as close as possible) 12": 3, 5 14": 2 Yamaha Marching Toms and Randall May Free Floating Lug Bridge Assembly Instructions - V0823...
- Page 10 10": 3, 5 13": 7 8": 1 12": 4 14": 3 (as close as possible) 12": 3, 5 14": 2 Yamaha Marching Toms and Randall May Free Floating Lug Bridge Assembly Instructions - V0823...
- Page 11 YAMAHA MULTI-TOM ASSEMBLY VIDEO Learn how to assemble your 8300 Field-Corps Series Yamaha Multi-Toms at Yamaha.io/MarchingTomAssembly or scan the QR code below. Scan to visit Yamaha Marching Toms and Randall May Free Floating Lug Bridge Assembly Instructions - V0823...