
Related Manuals for Philips PicoPix PPX5110/INT


Summary of Contents for Philips PicoPix PPX5110/INT
- Page 1 User Manual Pocket Projector PPX5110 Register your product and get support at www.philips.com/welcome...
-
Page 2: Table Of Contents
Table of contents Introduction ..........3 Dear customer ............3 About this user manual ..........3 What's in the box ............3 Product highlights ............3 1 General safety information ....4 Setting up the device ..........4 Repairs ................4 Power supply ..............5 2 Overview ...........6 Back and bottom view ..........6 Side view ...............6 Front and side view ...........6... -
Page 3: Introduction
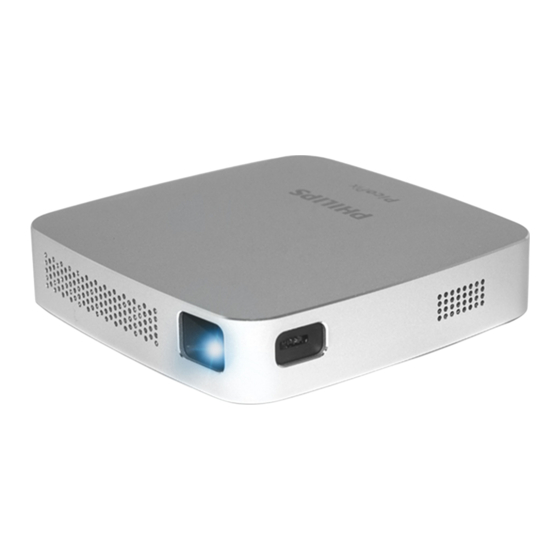
Introduction Dear customer What's in the box 1 – Pico Projector (PPX 5110) Thank you for purchasing this projector. 2 – A/C Power adapter We hope you enjoy your device and its many functions! 3 – Power plugs (EU, UK, US) 4 –... -
Page 4: General Safety Information
The battery is integrated with the device. Do not dissemble and modify. The battery should be replaced by qualified service staff only. DANGER! Risk of explosion with incorrect type of batteries! Do not try to replace the battery your- self. Philips · PPX5110... -
Page 5: Power Supply
Power supply Use only a power adapter which is certified for this product (see Technical data, page 19). Check whether the mains voltage of the power supply matches the mains voltage available at the setup location. This device complies with the voltage type specified on the device. -
Page 6: Overview
2 – B Power / Mode To turn on and off the device, press the B button for eight seconds. To switch between iOS and Android mode press the B button for one second. 3 – Vents Philips · PPX5110... -
Page 7: Initial Operation
3 Initial operation Setting up the device DANGER! Place the projector on a flat surface in front of Risk of explosion with incorrect type of the projection surface. batteries! Do not try to replace the battery your- Connecting power supply self. -
Page 8: Connect To Playback Device
1 Connect the external speakers or head- phones to the projector's Audio out socket. The device speakers deactivate automatically when the external speakers or headphones are connected. 2 Connect the HDMI plug to the HDMI socket of the playback device. Philips · PPX5110... -
Page 9: Wireless Projection With Miracast- Compatible Android Devices
5 Wireless projection with Miracast- compatible Android devices 3 Select Other connections, then press Wire- Notice less display. In order to allow Screen Mirroring, your device must support Miracast. Not all Android phones have this function. Very often it's also hidden under differ- ent names such as Screencast, Screen Sharing, WiFi Direct, Wireless Display etc. -
Page 10: Projection With Ios Devices
1 Switch the projector to iOS mode. To switch between iOS and Android mode press the B button for one second. iOS mode 3 Open the Control Centre by sliding up on the screen, then select Screen Mirroring. Philips · PPX5110... -
Page 11: Usb Screen Mirroring (Ios)
4 Select PPX5110-xxx. 2 In the Settings of your iPhone select Per- sonal Hotspot. USB Screen Mirroring (iOS) 3 Switch the Personal Hotspot to On. 1 Switch the projector to iOS mode. To switch between iOS and Android mode press the B button for one second. - Page 12 4 Connect the Lightning cable to the projec- 6 Open the Control Centre by sliding up on the tor's USB port and the other end to the screen, then select Screen Mirroring. iPhone. 7 Select PPX5110-xxx. 5 Confirm the pop-up message on your iPhone. Philips · PPX5110...
-
Page 13: Connecting The Phone To The Wi-Fi Network Created By The Projector
7 Connecting the phone to the Wi-Fi network created by the projector Enter the IP address 192.168.49.1 in the browser 5 Select Scan. address of your smartphone to set up the wire- less environment. This will enable smartphone internet browsing with wireless projection. 1 Switch to iOS mode by pressing the B button for one second. - Page 14 7 Enter a password and press Submit. Philips · PPX5110...
-
Page 15: Service
8 Service Care instructions for the Cleaning the lens Use a soft brush or lens cleaning paper for battery cleaning the lens of the projector. The capacity of the built-in battery diminishes DANGER! with time. You can prolong the life of the battery if you observe the following points: Do not use any liquid cleaning agents! Do not use any liquid cleaning agents... -
Page 16: Wireless Firmware Update
USB cable. 1 Connect the projector to the Internet (see Connecting the phone to the Wi-Fi network created by the projector, page 13). 2 Select Advanced. 3 Press Submit. below the OTA host. Philips · PPX5110... -
Page 17: Troubleshooting
3 Turn on the device by pressing the B button Troubleshooting for eight seconds. 4 Use a small pin and push it gently in the small Power cycling Reset hole. 5 Turn on the device by pressing the B button If a problem occurs that cannot be corrected for eight seconds. - Page 18 What to do if the projector does not work when • Check that the HDMI cable is plugged connecting to a notebook PC? correctly. • Make sure that the notebook PC has been switched to projector display. Philips · PPX5110...
-
Page 19: Appendix
9 Appendix Technical data Technology / optical Optical technology ........... DLP® Light source ..........RGB LED Resolution ......854 × 480 pixel (WVGA) LED lifetime ........up to 20,000 h Contrast .............. 1000:1 Aspect ratio............. 16:9 Brightness........up to 100 lumen Projection image size (diagonal)...... - Page 20 This device should be installed and operated The declaration of compliance can be consulted with a minimum distance of 20 centimetres on the site www.picopix.philips.com. between the device and your body. Canada Regulatory Compliance Preservation of the environment as part of a...
- Page 21 X-GEM SAS shall not be liable for any damages or problems arising from the use of any options or any consumable materials other than those designated as original X-GEM SAS / PHILIPS products or X-GEM SAS / PHILIPS approved products.
- Page 22 PHILIPS and the PHILIPS’ Shield Emblem are registered trademarks of Koninklijke Philips N.V. used under license. This product was brought to the market by X-GEM SAS, further referred to in this document as X-GEM SAS, and is the manufacturer of the product.