Cherry DW 5100 - Keyboard And Mouse Set Manual
- Operating manual (19 pages) ,
- Operating manual (29 pages)
Advertisement
- 1 Overview
- 2 Before you begin
- 3 For your safety
- 4 Connecting the receiver to the PC/ laptop
- 5 Storing the receiver in the mouse
- 6 Setting the DPI rate of the mouse
- 7 Surface under the mouse
- 8 Energy-saving shutdown
- 9 Battery status
- 10 Cleaning the devices
- 11 If the devices do not work
- 12 Disposing of the devices and batteries
- 13 Technical data
- 14 Documents / Resources
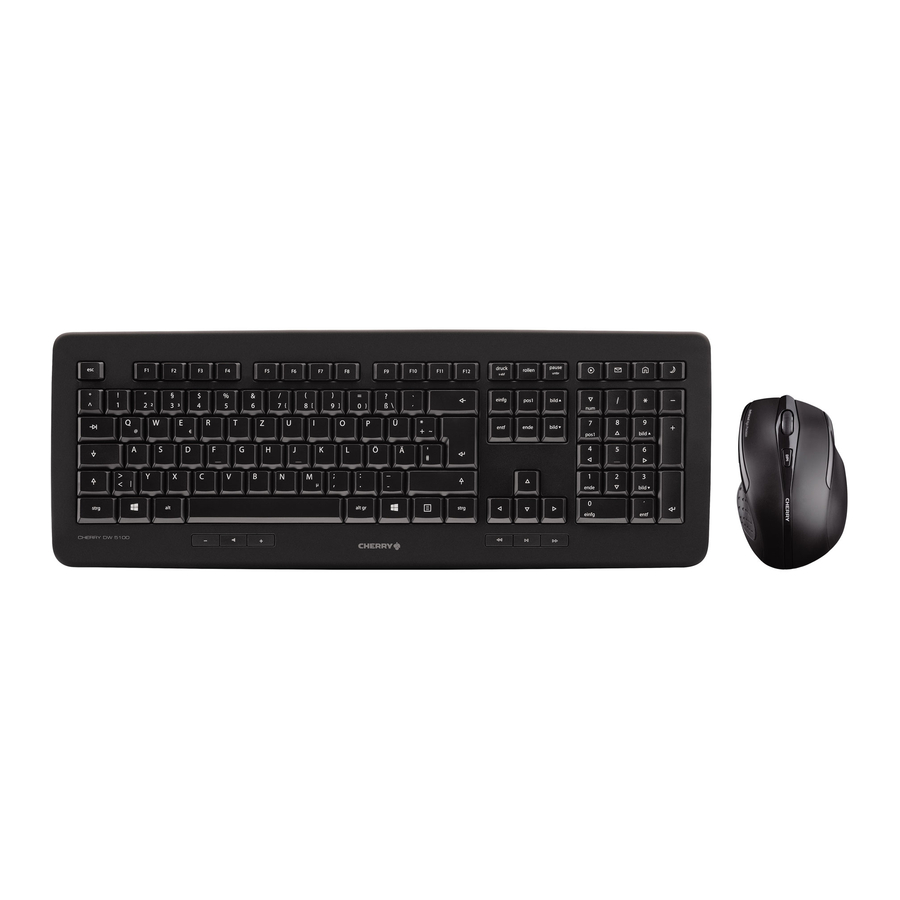
Overview


- LED for battery status and wireless connection
- Open multimedia program
- E-Mail program
- Browser, home
- Standby
- Volume down
- Sound on/off
- Volume up
- Previous title
- Play/pause
- Next title
- LED for battery status, DPI setting and wireless connection
- Browser forward
- Browser back
- DPI switch
Before you begin
 Every device is different!
The operating instructions contain information on effective and reliable use.
- Read the operating instructions carefully.
- Keep the operating instructions and pass them on to other users.
The CHERRY DW 5100 is a combination of a wireless keyboard and mouse for operating PCs and laptops.
For information on other products, downloads and much more, visit us at www.cherry.de.
For your safety
Risk of choking from swallowing small parts
- Keep the device out of the reach of children under 3 years.
Danger of explosions due to wrong or incorrectly inserted batteries
- Only use batteries of the type named in the technical data.
- Insert the batteries in accordance with the markings (+/-) in the battery compartment.
RSI stands for "Repetitive Strain Injury".
RSI arises due to small movements continuously repeated over a long period of time.
- Set up your workspace ergonomically.
- Position the keyboard and mouse in such a manner that your upper arms and wrists are outstretched and to the sides of your body.
- Take several short breaks, with stretching exercises if necessary.
- Change your posture often.
Connecting the receiver to the PC/ laptop
- Open the battery cover of the mouse, press the "PUSH" button and remove the receiver.
- Connect the receiver to a USB 2.0 port on your PC/ laptop if possible (this usually has a white or black guide).
- Insert batteries into the mouse and keyboard.
- Set the switch on the bottom of the mouse to ON. The LEDs of the devices flash for approx. 9 seconds and they are connected to your PC/ laptop.
Storing the receiver in the mouse
The receiver is so small that it can stay in the USB socket of a laptop while being transported. To avoid any damage, you can also pull out the receiver and deposit it in the mouse to protect it from dirt and loss.
Setting the DPI rate of the mouse
The speed of the mouse pointer increases with the level of the DPI rate.
- To change the DPI rate, press the DPI button on the top of the mouse.
The LED flashes according to the setting:
1x = 1000 dpi, 2x = 1750 dpi
The setting is saved in the mouse and is retained even when the mouse is switched off.
Surface under the mouse
The mouse is most effective on a light-colored, textured surface, which saves energy and ensures optimal motion detection.
A reflective surface is not suitable for using the mouse on.
Energy-saving shutdown
For instance when transporting, if you press the mouse button for longer than 3 minutes, the mouse switches off automatically.
To reactivate the mouse, switch off the mouse with the OFF switch and switch it on again with the ON switch.
Battery status
When the voltage of the keyboard or mouse batteries decreases, the LED of the corresponding device starts flashing.
- Replace the batteries as soon as possible.
Cleaning the devices
- Switch the devices off.
NOTE! Aggressive cleaning agents and liquids can damage the devices
- Do not use solvents such as benzene, alcohol, scouring agents or abrasive scourers for cleaning the devices.
- Prevent liquid from getting inside the devices.
- Do not remove the key caps of the keyboard.
- Clean the devices with a slightly damp cloth and some mild detergent (such as washing-up liquid).
- Dry the devices with a soft, lint-free cloth.
If the devices do not work
- Switch the mouse off and on again.
- Check whether the batteries are inserted correctly and have sufficient voltage.
- Connect the receiver to a USB 2.0 port on your PC/laptop (this usually has a white or black guide). Malfunctions occasionally occur on USB 3.0 ports (blue guide).
- Connect the receiver to another USB 2.0 port on the PC/laptop.
- Establish a new connection to the receiver:
- Disconnect the receiver from the USB port and plug it in again.
- Within 30 seconds, keep the mouse as near to the receiver as possible then press the scroll wheel and the right mouse button at the same time.
- Release the buttons when the battery status LED on the mouse flashes after approx. 3 seconds.
- Within 30 seconds, keep the keyboard as near to the receiver as possible, then press the "esc" and "Q" keys at the same time.
- Release the keys when
![]() LED on the keyboard flashes after approx. 3 seconds.
LED on the keyboard flashes after approx. 3 seconds.
 LED on the keyboard flashes after approx. 3 seconds.
Disposing of the devices and batteries
- Do not dispose of devices and batteries with this symbol in household waste.
- Take the batteries out of the devices.
- Dispose of the devices and batteries in accordance with statutory regulations – at your local dealer or at municipal recycling centers.
![]()

Technical data
| Designation | Value |
| Supply voltage | Keyboard/mouse: 2.2... 3.3 V SELV Receiver: 5.0 V/DC ±5% SELV |
| Power consumption | Keyboard: typically 2 mA Mouse: typically 2.5 mA Receiver: typically 29 mA |
| Batteries | Keyboard: 2 alkaline batteries, type LR03 (AAA) Mouse: 2 alkaline batteries, type LR03 (AAA) |
| Transmission frequency | 2400.0... 2483.5 MHz |
| Transmission power | Max. 10 mW (EIRP) |
| Storage temperature | -20°C... +60°C |
| Operating temperature | 0°C... +40°C |

Documents / Resources
References
Download manual
Here you can download full pdf version of manual, it may contain additional safety instructions, warranty information, FCC rules, etc.
Advertisement
Thank you! Your question has been received!


Need Assistance?
Do you have a question about the DW 5100 that isn't answered in the manual? Leave your question here.