Sony SU-WL450 Installation Information
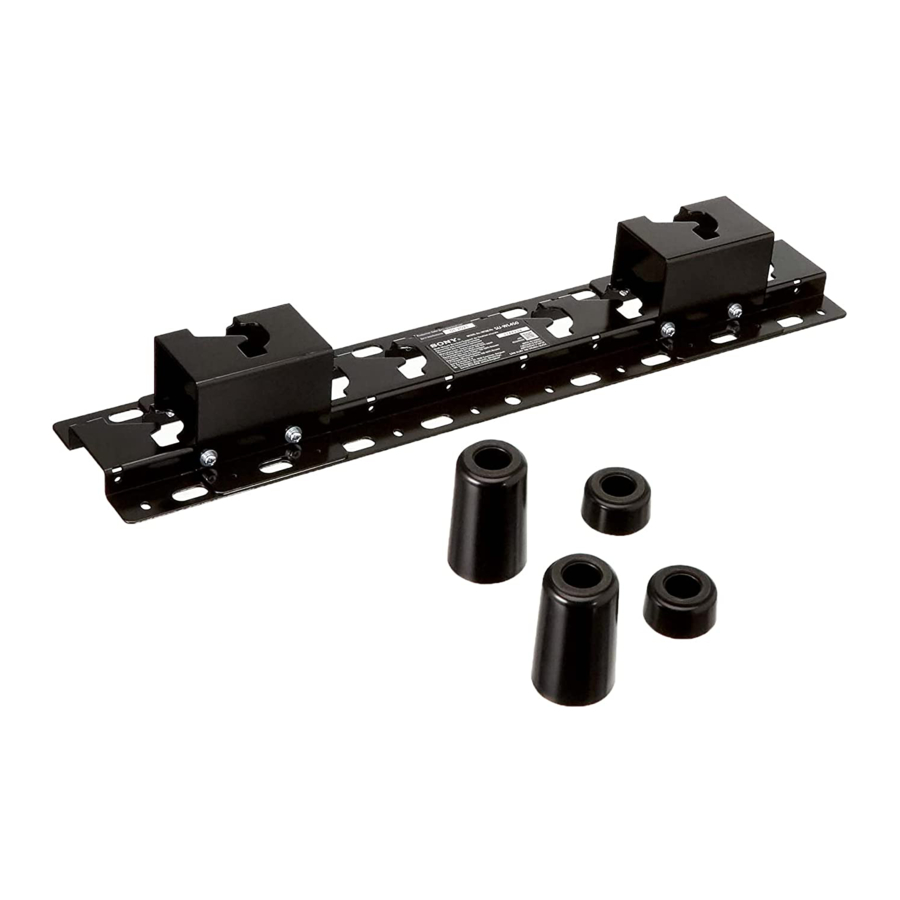
Wall-mount bracket
Hide thumbs
Also See for SU-WL450:
- Installation information (644 pages) ,
- Operating instructions manual (176 pages) ,
- Installation information (527 pages)
Table of Contents
Advertisement
Quick Links
Wall-Mount
Bracket
Installation Information
Informations d'installation
Información de instalación
Installationsinformationen
Installatie-informatie
Informazioni sull'installazione
Installationsinformation
Informacje dotyczące instalacji
Informações de instalação
Oplysninger om montering
Asennustiedot
Installasjonsveiledning
Πληροφορίες εγκατάστασης
Montaj Bilgileri
Szerelési információk
SU-WL450
GB
FR
ES
DE
NL
IT
SE
PL
PT
DK
FI
NO
GR
TR
HU
A-EUS-100-11(1)
Advertisement
Table of Contents

Related Manuals for Sony SU-WL450


Summary of Contents for Sony SU-WL450
- Page 1 Wall-Mount Bracket Installation Information Informations d’installation Información de instalación Installationsinformationen Installatie-informatie Informazioni sull’installazione Installationsinformation Informacje dotyczące instalacji Informações de instalação Oplysninger om montering Asennustiedot Installasjonsveiledning Πληροφορίες εγκατάστασης Montaj Bilgileri Szerelési információk A-EUS-100-11(1) SU-WL450...
-
Page 2: Supported Models
To Customers For product protection and safety reasons, Sony strongly recommends that installation of your TV be performed by Sony dealers or licensed contractors. Do not attempt to install it yourself. To Sony Dealers and Contractors Provide full attention to safety during the installation, periodic maintenance and examination of this product. - Page 3 Precautions Products by Sony are designed with safety in Be sure to subcontract mind. If the products are used incorrectly, however, it may result in a serious injury moving or dismounting If you use the TV installed on the...
- Page 4 Be sure to assemble the Do not install the Wall-Mount Bracket on wall surfaces such as a pillar, where the corners bracket properly or the sides of the TV protrude away from the wall surface. If a person or object following the instructed happens to hit the protruded corner or side procedure explained in...
-
Page 5: Preparing For Installation
Installation procedure differs, depending on your TV. Base (20) (1) Pulley (2) Use the Wall-Mount Bracket SU-WL450 to install the TV to the wall. Note If the Table-Top Stand is attached to the TV, detach the PSW 6x20 (4) ... - Page 6 Deciding on the installation location Decide on the installation location. Make sure that the wall has enough space for the TV and is capable of supporting a weight of at least four times that of the TV. Refer to the following table on installing the TV to the wall. Refer to your TV’s Reference Guide for the TV's weight.
- Page 7 Select Wall mounting style. It is Allow for suitable clearance between the TV and the ceiling and protruding parts of selectable as shown below. the wall as shown below. 2-a Standard mount 2-b Slim mount Unit: mm Refer to the table of step 1. WARNING ...
- Page 8 Refer to the below table about Installing the Base on the the Base Adaptor fitting wall location. In case of selecting Use four or more screws of 8 mm diameter 2-b, then skip this step. or equivalent (not supplied). Fit four screws to the holes of Base Model Name KDL- Hook location...
-
Page 9: Preparing For The Installation Of The Tv
Attach the Attachment parts for Preparing for the installation Wall-Mount Bracket. Check the of the TV Attachment parts by referring to “Supplied with SU-WL450” in Detach the Table-Top Stand “Checking the parts” on page from the TV. Soft cloth Note ... -
Page 10: Installing The Tv On The Wall
Bundle the AC Adapter using Installing the TV on the wall the cable holders (supplied Connect the necessary cable(s) with the TV). Make sure that the to the TV. label is facing outwards when bundling AC adapter. Make sure to connect the cables before installing the TV on the wall. -
Page 11: Confirming The Completion Of The Installation
Confirming the completion of the installation Check the following points. The Pulleys are firmly hung onto the Base. The cord and the cable are not twisted or pinched. The Belt is tight with no slack. WARNING ... -
Page 12: Specifications
Specifications Dimensions: (Approx.) [mm] a : 100 b : 200 : 300 d : 80 e : 400 : 480 g : 100 h1 : 20 (case 2-b) h2 : 60 (case 2-a) Weight (base only): (Approx.) [kg] Design and specifications are subject to change without notice.