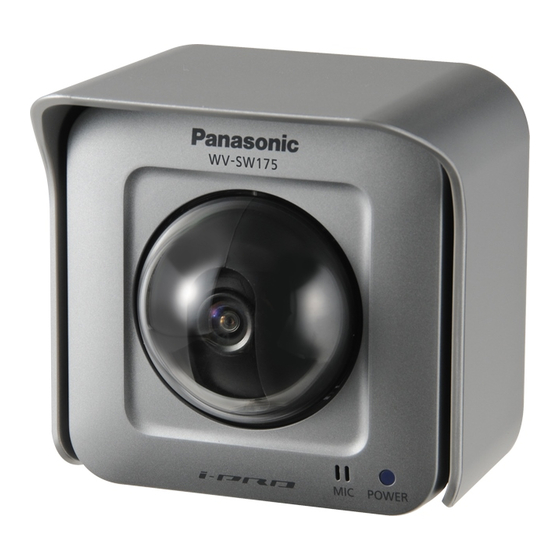
Panasonic WV-SW175 Quick Start Manual
Hide thumbs
Also See for WV-SW175:
- Operating instructions manual (244 pages) ,
- Installation manual (2 pages) ,
- Quick start manual (2 pages)
Advertisement
Quick Links
Mounting the Camera (For UL listed model(s))
The following procedures are descriptions of how to mount the UL listed model(s).
The sunshade (accessory), front cover, and connector cover (accessory) must be
installed when used outdoors or in wet locations and positioned so that the
sunshade is on top.
Pass the cables through the connector cover (accessory), and then connect
1
all cables. Attach the connector cover by fastening screw A (accessory).
(Recommended tightening torque of the connector cover: 0.6 N·m {0.44 lbf·ft})
Connect all necessary cables, AC adaptor, LAN, audio/video, etc.
<WV-SW175/WV-SW172>
Connector cover
(accessory)
Screw hole
IMPORTANT
When wiring LAN cables outside, make the LAN cable as short as possible. This product or
the hub connected to this product may be affected by lightning or other weather conditions.
When mounting the camera, make sure to wrap the AC adaptor cord (if used) and
other cables (external microphone or speaker cable, video cable, etc.) around the
hooks as shown to ensure secure connections.
12 V DC power supply terminal/
Monitor out connector for adjustment/
External I/O terminals cable hook
2
Attach the sunshade (accessory) by fastening screw A (accessory).
(Recommended tightening torque of the sunshade: 0.6 N·m {0.44 lbf·ft})
Sunshade (accessory)
Make sure
the SD card
cover close
firmly before
attaching
the
sunshade.
<WV-SW174W>
Connector cover
(accessory)
Screw A
(accessory)
Screw hole
Audio output terminal/
Microphone/line input
connector cable hook
Cs0512-1122 PGQW1223YA
Printed in China
3
Connect the conduit attachment to the conduit and the connector cover.
Note
The female thread for conduit is compliant with ANSI/NPSM (parallel pipe threads) 3/4 inches or
G3/4 of ISO 228-1.
Conduit attachment
(locally procured)
Screw A
(locally procured)
(accessory)
Installing the camera on the ceiling or wall
Adjust the camera to a suitable position/direction while confirming the images actually displayed
on the computer screen.
Note
Make sure the live indicator is always in the lower right corner
when you mount.
Place the flexible stand on the ceiling or
1
wall, and determine the mounting
position of the stand.
Make sure the flexible stand is firmly mounted
on a beam of wood
(25 mm {31/32 inches} and greater) etc. When
there is no beam, apply a board on the other
side of the ceiling or wall to make sure the
camera does not drop.
2
Secure the safety wire (accessory) to
Screw A
the camera using screw A
(accessory)
(accessory) and washer S
(accessory).
Conduit
Live indicator
At least 25 mm
{31/32 inches}
Beam of wood
Washer S (accessory)
Screw A
Safety wire (accessory)
Advertisement

Summary of Contents for Panasonic WV-SW175
- Page 1 Attach the connector cover by fastening screw A (accessory). (Recommended tightening torque of the connector cover: 0.6 N·m {0.44 lbf·ft}) Connect all necessary cables, AC adaptor, LAN, audio/video, etc. Conduit attachment <WV-SW174W> <WV-SW175/WV-SW172> (locally procured) Connector cover Connector cover (accessory)
- Page 2 Adjust the camera position and tighten the flexible stand grip Mount the flexible stand firmly to the ceiling or wall with screw B (accessory). and the tightening screw firmly. When mounting the flexible stand to the wall, position the flexible stand so The fixing position of the tightening screw can be adjusted according to the that the “p”...


