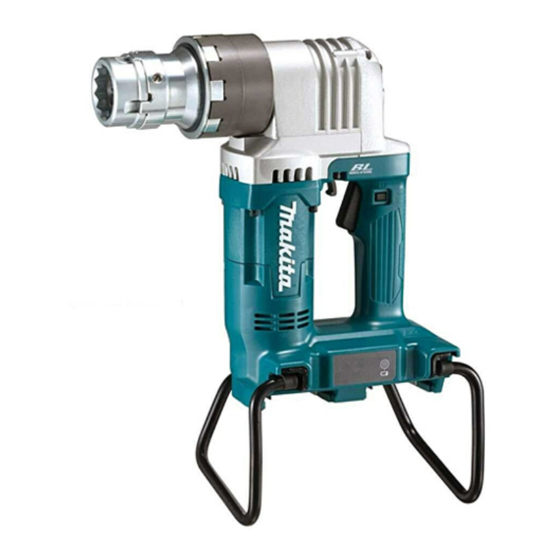
Makita DWT310 Instruction Manual
Cordless shear wrench
Hide thumbs
Also See for DWT310:
- Instruction manual (73 pages) ,
- Instruction manual (49 pages) ,
- Instruction manual (53 pages)
Table of Contents
Advertisement
Quick Links
Advertisement
Table of Contents

Related Manuals for Makita DWT310


Summary of Contents for Makita DWT310
- Page 1 INSTRUCTION MANUAL Cordless Shear Wrench DWT310 Read before use.
-
Page 2: Specifications
SPECIFICATIONS Model: DWT310 Bolt size M16, M20, M22 Maximum torque 804 N•m No load speed (RPM) 14 min Overall length 296 mm Rated voltage D.C. 36 V Net weight 6.5 - 7.1 kg • Due to our continuing program of research and development, the specifications herein are subject to change without notice. • Specifications and battery cartridge may differ from country to country. •... - Page 3 When operating a power tool outdoors, use an extension cord suitable for outdoor use. Use of a cord suitable for outdoor use reduces the risk of electric shock. If operating a power tool in a damp location is unavoidable, use a residual current device (RCD) protected supply.
- Page 4 For preparation of the item being shipped, consult- sleeve smoothly turns by hand. When it does ing an expert for hazardous material is required. not smoothly turn, never use it and ask Makita Please also observe possibly more detailed Authorized Service Center for check and repair.
-
Page 5: Functional Description
Tips for maintaining maximum Indicating the remaining battery battery life capacity Charge the battery cartridge before completely dis- Only for battery cartridges with the indicator charged. Always stop tool operation and charge the battery cartridge when you notice less tool power. Never recharge a fully charged battery cartridge. - Page 6 Overheat protection Battery power lamp When the tool or battery is overheated, the tool stops When the remaining battery capacity becomes low, the battery automatically. In this case, let the tool and battery cool power lamp blinks. Charge the battery or replace the battery with before turning the tool on again. fully charged one. When the remaining battery capacity becomes much lower, the tool stops and the battery power lamp lights up. Overdischarge protection When the battery capacity is not enough, the tool stops automatically. In this case, remove the battery from the tool and charge the battery. Switch action WARNING: Before installing the battery car- tridge into the tool, always check to see that the switch trigger actuates properly and returns to the "OFF"...
- Page 7 ASSEMBLY CAUTION: Always be sure that the tool is switched off and the battery cartridge is removed before carrying out any work on the tool. Removing the outer and inner sleeves CAUTION: Be careful not to allow foreign mat- ter to enter the insides of the tool when removing or installing the outer and inner sleeves.
-
Page 8: Operation
NOTICE: Be careful when fitting the sleeve onto the bolt tip. Striking the tip can damage it so that it will no longer fit inside the sleeve properly. Push the tool lightly until the outer sleeve completely hold the nut. If the outer sleeve fails to hold the nut, rotate the tool clockwise or counterclockwise while pushing the tool lightly. Press the trigger-lock button, and then pull the switch trigger. -
Page 9: Maintenance
Discoloration, deformation or cracks may result. To maintain product SAFETY and RELIABILITY, ► 1 . Identification mark 2. Nut 3. Bolt 4. Chamfered repairs, any other maintenance or adjustment should 5. Washer be performed by Makita Authorized or Factory Service Centers, always using Makita replacement parts. NOTICE: Replace nut, bolt and washer all together at one time when these rotate together, Battery guard nut rotates excessively or a bolt protrude from nut surface too much or less. -
Page 10: Optional Accessories
► 1 . Battery guard 2. Battery guard holder OPTIONAL ACCESSORIES CAUTION: These accessories or attachments are recommended for use with your Makita tool specified in this manual. The use of any other accessories or attachments might present a risk of injury to persons. Only use accessory or attachment for its stated purpose. If you need any assistance for more details regard- ing these accessories, ask your local Makita Service Center. Bolt size... - Page 12 Makita Corporation 885624-1 20180228 www.makita.com...