Epson ET-2650 Start Here
Hide thumbs
Also See for ET-2650:
- Quick manual (17 pages) ,
- User manual (204 pages) ,
- Installation manual
Advertisement
Quick Links
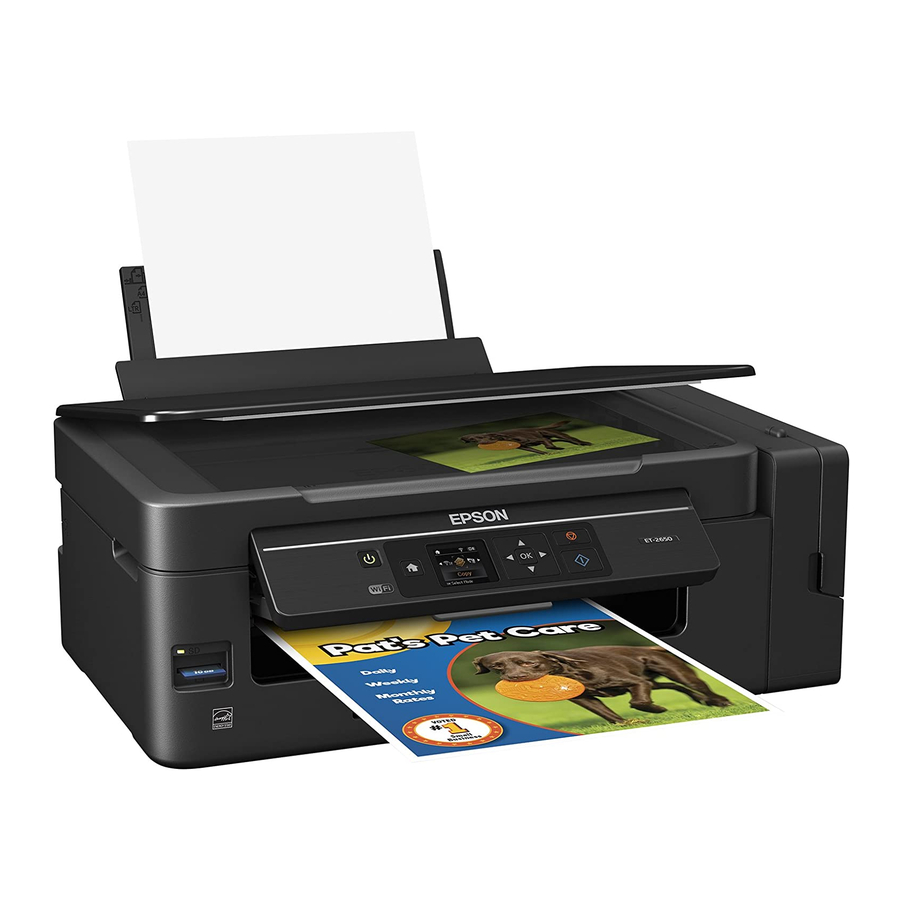
ET-2650
Start Here
Read these instructions before using your product.
Note for Spanish speakers/Nota para hispanohablantes:
obtener instrucciones de configuración en español, consulte la Guía
de instalación en www.epson.com/support/et2650sp (requiere una
conexión a Internet).
1
Unpack
Note:
Do not open the ink bottles until you are ready to fill the ink
tanks. The ink bottles are vacuum packed to maintain reliability. Ink
bottle design may vary.
1
Remove all protective materials from the product.
2
Lift up the scanner unit and remove all protective materials
from inside the product.
Caution:
Do not touch the flat white cable or the ink tubes and
their translucent cover.
3
Lower the scanner unit.
Para
2
Fill ink tanks
Note:
This product requires careful handling of ink. Wear disposable
gloves and place a sheet of paper or plastic under the ink tank when
you fill or refill the ink tanks, as ink may splatter. If ink spills, wipe it off
immediately with a damp towel to avoid permanent stains. If ink gets on
your clothes or belongings, it may not come off.
Warning:
Keep the ink bottles out of the reach of children and do not
drink the ink.
1
Open the ink tank cover, then remove the cap for the black
ink tank and attach it to its holder.
2
Unpack the black ink bottle.
3
Depending on the ink bottle included with your product,
snap off the bottle tip or unscrew the lid.
4
Remove the bottle cap. Carefully remove the protective
seal (avoid touching the ink underneath the seal), then
close the bottle cap tightly.
Caution:
Be sure to close the bottle cap tightly, or ink may leak.
Advertisement

Related Manuals for Epson ET-2650


Summary of Contents for Epson ET-2650
- Page 1 Read these instructions before using your product. Note for Spanish speakers/Nota para hispanohablantes: Para obtener instrucciones de configuración en español, consulte la Guía de instalación en www.epson.com/support/et2650sp (requiere una conexión a Internet). Fill ink tanks Note: This product requires careful handling of ink. Wear disposable...
- Page 2 Fill the tank using all of the ink in the bottle. Raise the control panel and turn on the product, then follow steps 12, 13, and 14 to continue ink charging. Note: Refer to the color coded sticker on the ink tank to identify the color of each tank.
- Page 3 Pull out the output tray and raise the paper stopper. tap the action icon to select the print option. • Use Epson Print Enabler (free from Google Play™) with Android™ devices (v4.4 or later). Then connect your printer and device to the same network and tap the menu icon to select the print option.
- Page 4 Android, Google Cloud Print, Chromebook, and Google Play are trademarks of Google Inc. General Notice: Other product names used herein are for identification purposes only and may be trademarks of their respective owners. Epson disclaims any and all rights in those marks. This information is subject to change without notice.