Advertisement
Quick Links
Installation Instruction
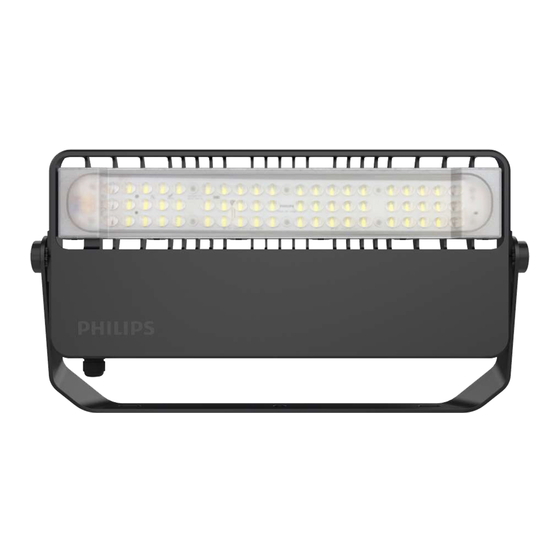
LED FLOOD LIGHT
Dimensions in mm
588
536
200
100
28
186
372
CAUTION
1. Ensure L-N-E is connected in right manner.
2. Ensure 3 core cable for Connections(Outer diameter 8-10 mm, multi strand 1.5 sq. mm thickness)
with IP-65 protected cable joint (Follow steps 2,3,4 & 5 for 3 Core cable assy, only if required).
3. 3 Core cable should be properly connected with ground.
4. Ensure mounting bracket is properly mounted with three M12 bolt at 30 N-m torque.
5. Product should be operated between 120-270V A.C.
6. Luminaire must be brought down from the mounting position for maintenance.
7. In case the Lensplate is found broken/damaged it should not be powered on and is to be replace
before using the luminaire.
8. The light source of this luminaire is not replaceable, when the light source reaches
its end of life the whole luminaire shall be replaced.
FAILURE OF PRODUCT DUE TO NON COMPLIANCE TO ANY OF THE ABOVE, VOIDS WARRANTY
OF PRODUCT.
All the pictures in the MI sheet are representative only and may vary from the Actual Product.
Industrial Luminaire
62
28
94
Ø16.2
Caution: Mounting to be done using M12 Bolts(3x)
Warranty void if earthing is not connected.
Installation Instruction
LED FLOOD LIGHT
Type
Lamp
Voltage
IP Classification
Net Weight
Max. Projected Area
CCT
Application
IP-66
Industrial Luminaire
: BVP483
: LED
: 240 V, 50 Hz
: IP 66
: 7.0 kg Approx
: 0.14 m²
: 5700 K
: Outdoor only
ta
35
Advertisement

Related Manuals for Philips BVP483


Summary of Contents for Philips BVP483
- Page 1 LED FLOOD LIGHT Industrial Luminaire LED FLOOD LIGHT Industrial Luminaire Dimensions in mm Ø16.2 Type : BVP483 Caution: Mounting to be done using M12 Bolts(3x) Lamp : LED Warranty void if earthing is not connected. Voltage : 240 V, 50 Hz...
- Page 2 Unscrew the M5x20 Captive screw to open the gear M12 (3x) Take the Luminaire out of the packing Box. Mount the Luminaire 30 N.m cover and to have access to the electrical connections. Remove the cable tie and mount the Bolt Caps. LONGER SIDE on the Bracket using 03 (Cable tie is used on both sides of handles to...