Advertisement
Quick Links
Introduction
When the charging station and the boundary wire are
completely installed and the Automower™ is linked to the
charging station, the mower can be started.
This document is a quick guide to installing the Automower.
There is more information about the mower and the installation
in the Automower Operator's Manual.
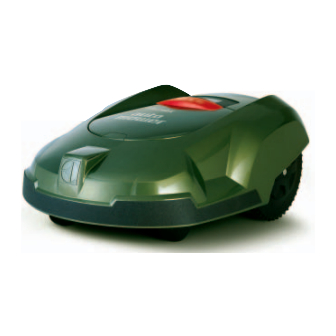
Parts of the Automower
A
Main menu
1
1. Display
Commands
4
B
Timer
ghi
2. Control panel
Garden
Settings
7
C
pqrs
3. Main switch
MAN.
YES
AUTO
4. Contact strips
5. LED for operation check of
the boundary wire
6. STOP button
7. Catch button for opening the
cutting height adjustment cover
8. Charging strips
www.automower.com
The Electrolux Group is the world's largest producer of powered appliances for kitchen,
cleaning and outdoor use. More than 55 million Electrolux Group products (such as
refrigerators, cookers, washing machines, vaccum cleaners, chain saws and lawn
mowers) are sold each year to a value of approximately USD 14 billion in more than 150
countries around the world.
www.electrolux.com
Automower™ is a trademark of the Electrolux Group.
The Automower is protected by several patents.
EP 0 550 473
EP 1 025 472
EP 1058 958
EP 1 302 147
US 6.586.908
SE 511 254
2
3
abc
def
5
6
ON
jkl
mno
8
9
tuv
wxyz
OFF
0
US 6.300.737
US 6.525.509
US 6.465.982
114 02 51-26
Automower
™
quick installation
guide
Advertisement

Summary of Contents for Electrolux Automower G2
- Page 1 ™ quick installation guide The Electrolux Group is the world’s largest producer of powered appliances for kitchen, cleaning and outdoor use. More than 55 million Electrolux Group products (such as refrigerators, cookers, washing machines, vaccum cleaners, chain saws and lawn mowers) are sold each year to a value of approximately USD 14 billion in more than 150 countries around the world.
- Page 2 Placing and connecting the charging station Checking the installation 1. Place the charging station centrally in the working Check the loop signal by looking to see what indication the green area, with a large free area in front of the station and LED on the charging station is giving.


