
Related Manuals for Huawei CloudEngine 8800 Series


Summary of Contents for Huawei CloudEngine 8800 Series
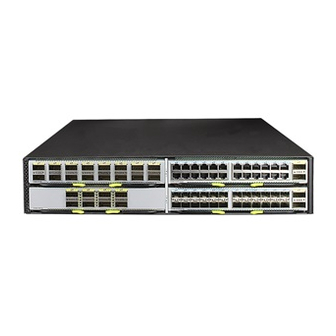
- Page 1 Quick Start Guide CloudEngine 8800, 7800, 6800 and 5800 Series Switches Issue: 22 (2019-12-09) Part Number: 31505402 HUAWEI TECHNOLOGIES CO., LTD...
-
Page 2: About This Guide
1 About This Guide Thank you for purchasing a Huawei CloudEngine series switch. This guide describes how to install CloudEngine 8800&7800&6800&5800 (CE8800&7800&6800&5800 for short) series switches. It also explains how to log in to your switch for the first time. -
Page 3: Site Environment
Leave at least 50 mm clearance at the rear and both sides of the chassis for heat dissipation. Ensure that the temperature and humidity at the installation site meet the switch operation requirements. For the specific requirements, see the Hardware Description for your switch on the Huawei support website. 5 Installing the Chassis 5.1 Chassis Dimensions... - Page 4 If the distance between front and rear mounting rails is not within the required range, install guide rails or a tray (self-provided) in the cabinet/rack to support the chassis. Switch and mounting bracket mapping table. Mounting brackets and guide rails Mounting bracket A Mounting bracket B Mounting bracket C Guide rail E...
- Page 5 539 mm-637 mm 638 mm-696 mm Mounting bracket A Mounting bracket A + Mounting bracket C + Mounting bracket C + Guide rail E + Guide rail F 697 mm-835 mm Mounting bracket A + Mounting bracket C + Guide rail F Mounting bracket and guide rail bundles for the CE7800&6800 (600 mm deep) 493 mm-548 mm 549 mm-551 mm...
- Page 6 Front mounting rail Rear mounting rail 5.4 Installing the Chassis in a Cabinet (CE8860, CE8861, CE8868 and CE8850-64CQ-EI Switches) Before You Start CE8860, CE8861, CE8868 and CE8850-64CQ-EI switches requires 3U of vertical space in a cabinet/rack. Installation Procedure Step 1 Mount the expandable guide rails on the mounting rails.
- Page 7 Step 3 Install the front mounting brackets near the power supply side or port side depending on which side is facing the front. In the following figure, the front mounting brackets are installed near the port side. Step 4 Install the switch in the cabinet. a.
- Page 8 Power modules fixed using a captive screw and a lock are installed differently. Power modules and fan modules are hot pluggable. A fan module is installed the same way as a power module fixed with captive screws. Installation Procedure Power module secured by a captive screw Power module secured by a lock Insert the power module into a power slot.
-
Page 9: Connecting Cables
8 Connecting Cables Before You Start Ground cable. The switch must be reliably grounded. Attach the M4 lug to the switch and the M6 lug to the ground point. Ethernet cable. Category 5E or higher category Ethernet cables are recommended for GE electrical ports. Category 6A shielded or higher category Ethernet cables are recommended for 10GE electrical ports. - Page 10 Combo port. The CE6850HI, CE6855-48T6Q-HI, CE6856-48T6Q-HI, CE6850U-HI and CE6875EI have two ETH management ports, each of which is a GE combo port. The CE8860, CE8861, CE8868 and CE8850-64CQ-EI have two ETH management ports (GE RJ45). The two ETH management ports cannot be used simultaneously. Choose one of them and use the other as a backup. A GE combo port consists of a GE electrical port and a GE optical port.
-
Page 11: Logging In To The Switch
Use a Mini USB cable to connect a PC to the Mini USB port of the switch. Step 2 Log in to http://support.huawei.com/enterprise to download the Mini USB driver CE_MiniUSB_driver. The Mini USB driver can only be used on Windows XP, Vista, and 7 operating systems. -
Page 12: Importer Information
For the information displayed and notes about the operation, see Step 3 in 9.1 "Logging In Through the Console Port." After completing this step, you can configure the switch on the command line interface. For more information, see the Configuration Guide for your switch on the Huawei support website. 10 Obtaining Product Documentation and Technical Support Log in to Huawei enterprise technical support website (http://support.huawei.com/enterprise), and select a specific product model and version to...