Table of Contents
Advertisement
Advertisement
Table of Contents

Related Manuals for Bosch TPS110 EU


Summary of Contents for Bosch TPS110 EU
- Page 1 Parking Lot Sensor TPS110 EU 1 | 14 Parking Lot Sensor TPS110 EU User manual...
-
Page 2: Table Of Contents
Preparation of the parking space ..........................4 Installation of the sensor base ............................ 6 Installing the sensor ..............................8 Replacing/removing the BOSCH Parking Lot Sensor ....................9 Setup and operation of the parking lot sensor in the backend .................. 11 Technical specifications Legal information Disposal note in accordance with ElektroG and WEEE Directive 2012/19/EU ............ -
Page 3: Assembly And Commissioning
Parking Lot Sensor TPS110 EU 3 | 14 1. General description The TPS110 EU Parking Lot Sensor is used for detecting parked vehicles in parking lots. Only use the parking lot sensor in conjunction with approved components. 2. Assembly and commissioning... -
Page 4: Required Material For Installing The Parking Lot Sensor
Parking Lot Sensor TPS110 EU 4 | 14 Required material for installing the parking lot sensor Figure 2 Material for attachment 3. Disposable gloves (protection against contact with adhesive) 4. Two-component adhesive (here: DELO®-PUR 9692, 50 ml) 5. Adhesive press (these differ, depending on the cartridge size) 6. - Page 5 Parking Lot Sensor TPS110 EU 5 | 14 INFORMATION: For the bonding procedure, please follow the instructions of the adhesive manufacturer (e.g., temperature, safety information and work instructions). A parking space cleaning should be clarified in advance with the parking lot operator so that the treatment does not result in removal of existing coatings.
-
Page 6: Installation Of The Sensor Base
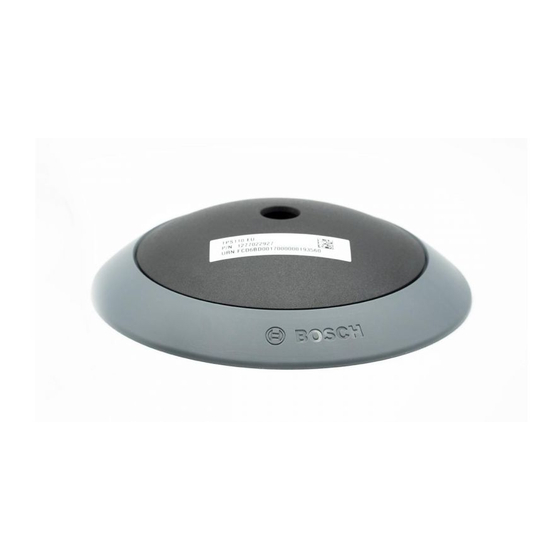
Parking Lot Sensor TPS110 EU 6 | 14 Installation of the sensor base Insert the adhesive cartridge into the glue gun/adhesive press (Fig. 7 Inserting the adhesive cartridge; in the case of DELO®-PUR 9692, the mixing ratio is 1:1, so you do not have to pay attention to the orientation of the cartridge). Then attach the mixing tip on the cartridge by removing the cartridge cap (Fig. - Page 7 Now you can mount the sensor in the center of the parking space by applying light pressure on the sensor base (see Fig. 12 Sensor base attachment). Make sure that the sensor is centered in the parking space and that the Bosch logo on the sensor base points towards the access road (see Figure 13 Sensor base installed).
-
Page 8: Installing The Sensor
Parking Lot Sensor TPS110 EU 8 | 14 Figure 12 Sensor base attachment Figure 13 Sensor base installed Allow the two-component adhesive > 12 h to cure (hand-tight at room temperature after 30 min) before you screw in the sensor. Keep the parking space closed off until the sensor is installed to prevent damage (such as breaking the dome) to the sensor base. -
Page 9: Replacing/Removing The Bosch Parking Lot Sensor
The sensor can be screwed into the base after the adhesive has cured. To simplify insertion, the arrow on the bottom of the sensor points towards the Bosch logo (see Figure 14 Installing/screwing in the sensor). After inserting the sensor, it will take approx. - Page 10 Parking Lot Sensor TPS110 EU 10 | 14 To completely remove the sensor base from the parking space, it is necessary to use a hammer and chisel to destroy the adhesive effect by chiseling the sensor base parallel to the parking space surface. As a result, there is no...
-
Page 11: Setup And Operation Of The Parking Lot Sensor In The Backend
Parking Lot Sensor TPS110 EU 11 | 14 Setup and operation of the parking lot sensor in the backend In order to set up the sensor in the LoRaWAN backend, the following information is required, which will be provided to... -
Page 12: Legal Information
Part III, Subsection 38.3. The battery contains less than 2 g of lithium. Packages with up to 2 TPS110 EU and a maximum of 2 packages per shipment should not be affected by special transport regulations. For your safety, however, check with your transport service provider. Packages with more than 2 TPS110 EU (for example, also for returns to BCDS) must carry a lithium battery handling label specified in the appendix. -
Page 13: Oss Note
The lithium metal batteries are included in the TPS110 EU. The TPS110 EU and the included batteries are not damaged. The TPS110 EU contains the original supplied lithium metal batteries. Replacement of used batteries is not permitted. The TPS110 EU is protected by sturdy packaging. - Page 14 Parking Lot Sensor TPS110 EU 14 | 14 Bosch Connected Devices and Solutions GmbH BCDS Ludwig-Erhard-Straße 2 72760 Reutlingen Germany support@bosch-connectivity.com...