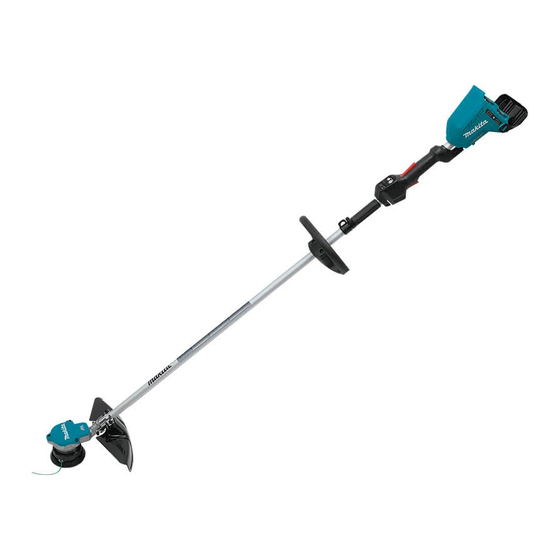
Makita DUR366L Instruction Manual
Cordless grass trimmer
Hide thumbs
Also See for DUR366L:
- Instruction manual (101 pages) ,
- Instruction manual (44 pages) ,
- Instruction manual (117 pages)
Advertisement
Advertisement
Table of Contents

Related Manuals for Makita DUR366L


Summary of Contents for Makita DUR366L
- Page 1 INSTRUCTION MANUAL Cordless Grass Trimmer DUR366L Read before use.
-
Page 2: Specifications
SPECIFICATIONS Model DUR366L Type of handle Loop handle No load speed 5,000 / 6,500 min Overall length 1,754 mm Nylon cord diameter 2.0 – 2.4 mm Applicable cutting tool Nylon cutting head Plastic blade (P/N 198383-1) (P/N 197296-3/ 198892-0/ 198893-8/ 196324-1) -
Page 3: Save All Warnings And Instruc- Tions For Future Reference
Save all warnings and instruc- tions for future reference. Be familiar with the controls and proper use of the equipment. Cutting elements continue to rotate after the motor is switched off. Never allow children or people unfamiliar with the instructions to use the machine. Local reg- ulations may restrict the age of the operator. - Page 4 Under abusive conditions, liquid may be Only use the tool in good light and visibility. ejected from the battery; avoid contact. If con- During the winter season beware of slippery tact accidentally occurs, flush with water. If or wet areas, ice and snow (risk of slipping). liquid contacts eyes, seek medical help.
- Page 5 MISUSE or failure to follow the safety also void the Makita warranty for the Makita tool and rules stated in this instruction manual may cause charger. serious personal injury.
-
Page 6: Parts Description
PARTS DESCRIPTION Battery cartridge Lock-off lever Switch trigger Power lamp Main power button Reverse button Hanger Grip Protector (cutting tool Shoulder harness guard) * The shape of the protector varies depending on the country. 6 ENGLISH... -
Page 7: Functional Description
Tool / battery protection system FUNCTIONAL DESCRIPTION The tool is equipped with a tool/battery protection sys- tem. This system automatically cuts off power to the motor to extend tool and battery life. The tool will automatically stop during operation if the WARNING: tool or battery is placed under one of the following con- •... -
Page 8: Remaining Battery Capacity Indication
Press the check button on the battery cartridge to indi- Remaining battery capacity indication cate the remaining battery capacity. The indicator lamps light up for a few seconds. Battery indicator status Remaining battery capacity Indicator lamps Remaining Blinking capacity 50 % - 100 % Lighted Blinking 75% to 100%... - Page 9 To prevent the switch trigger from being accidentally To return to regular rotation, release the trigger and wait pulled, a lock-off lever is provided. until the tool's head stops. To start the tool, grasp the rear handle (the lock-off lever NOTE: is released by the grasp) and then pull the switch trig- •...
-
Page 10: Installing The Guard
NOTICE: Installing the grip • Be sure to use genuine Makita nylon cutting head / plastic blade. Turn the tool upside down so that you can replace the nylon cutting head easily. ► 1 . Grip 2. Hex bolt 3. Cover 4. Clamp 5. Hanger Fit the grip onto the pipe and tighten it with two hex bolts. -
Page 11: Operation
When not in use, store the hex wrench as shown in the Detachment figure to keep it from being lost. OPERATION Correct handling of tool Correct posture WARNING: • Always position the tool on your right-hand side. Correct positioning of the tool allows for maximum control and will reduce the risk of ► 1 . - Page 12 Replacing the nylon cord WARNING: Use nylon cord with diameter specified in “SPECIFICATIONS” only. Never use heavier line, metal wire, rope or the like. Use rec- ommended nylon cord only, otherwise it may cause damage to the tool and result in serious personal injury.
- Page 13 For 95-M10L 100 mm 2.4 mm 2.4 mm ≤ ≤ 80 mm 13 ENGLISH...
- Page 14 For Proulx 4.5 m 2.4 mm 2.4 mm ≤ ≤ 100 mm NOTICE: Remove remaining nylon cord before replacing. Turn the spool clockwise until the remaining cord is retracted and then pull it our from the top of the spool. 14 ENGLISH...
- Page 15 For B&F ECO4L 100 mm 2.4 mm 2.4 mm ≤ ≤ 80 mm 15 ENGLISH...
- Page 16 ► 1 . Arrow on the protector 2. Arrow on the blade To maintain product SAFETY and RELIABILITY, repairs, any other maintenance or adjustment should be performed by Makita Authorized or Factory Service Centers, always using Makita replacement parts. 16 ENGLISH...
-
Page 17: Troubleshooting
TROUBLE SHOOTING Before asking for repairs, conduct your own inspection first. If you find a problem that is not explained in the manual, do not attempt to dismantle the tool. Instead, ask Makita Authorized Service Centers, always using Makita replace- ment parts for repairs. Malfunction status Cause Action Battery cartridge is not installed. Install the battery cartridge. Recharge the battery. If recharging Motor does not run. -
Page 18: Optional Accessories
The use of any other accessories or attachments might present a risk of injury to persons. Only use accessory or attachment for its stated purpose. If you need any assistance for more details regard- ing these accessories, ask your local Makita Service Center. • Nylon cutting head •... - Page 20 Makita Corporation 3-11-8, Sumiyoshi-cho, Anjo, Aichi 446-8502 Japan 885501-906 20180402 www.makita.com...