
Related Manuals for HP OfficeConnect 1920S 8G


Summary of Contents for HP OfficeConnect 1920S 8G
- Page 1 HPE OfficeConnect 1920S Switch Series Quick Start Guide *5200-2869* Part Number: 5200-2869 Published: December, 2016 Edition: 1...
- Page 2 JL380A HPE OfficeConnect 1920S 24G 2SFP Switch JL381A HPE OfficeConnect 1920S 48G 4SFP Switch JL382A HPE OfficeConnect 1920S 8G PPoE+ 65W Switch JL383A HPE OfficeConnect 1920S 24G 2SFP PPoE+ 185W Switch JL384A HPE OfficeConnect 1920S 24G 2SFP PoE+ 370W Switch...
-
Page 3: Table Of Contents
Contents HPE OfficeConnect 1920S Switch Series..........4 Example: Initial Switch Configuration....................7 SFP Installation Notes........................8 Warranty and regulatory information..........10 Safety Precautions........................10 Installation Precautions....................10 Regulatory and Safety Information..................... 10 1920S Switch Series Information — Regulatory and Safety..........11 Documentation feedback......................16 Contents... -
Page 4: Hpe Officeconnect 1920S Switch Series
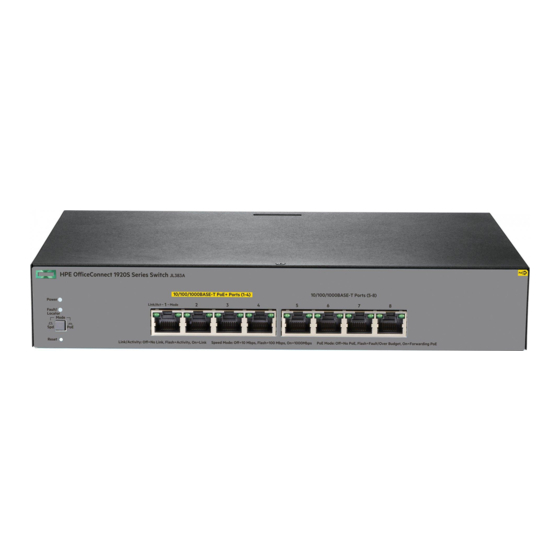
HPE OfficeConnect 1920S Switch Series The switch drawings in this document are for illustration only and may not match your particular switch model. For more detailed instructions and information to set up your switch, view or download the Installation and Getting Started Guide for your switch at http://www.hpe.com/support/hpesc. -
Page 5: Part Number
Unplug the AC or DC power from the switch before mounting it. Rack Mounting: To attach the accessory kit brackets to the switch, use the eight 8-mm M4 screws and a #1 Phillips (cross-head) screwdriver. Then secure the brackets to the rack by using the four number 12-24 screws. - Page 6 Wall or Under-table Mounting: To mount the 1920S-24G, 1920S-24G-PPoE+, 1920S-24G-PoE +, 1920S-48G, and 1920S-48G-PPoE+ switches: • First attach the mounting brackets to the switch by using the included 8-mm M4 screws with a #1 Phillips (cross-head) screwdriver. • Then attach the switch to the wall or wood surface with two 5/8-inch number 12 wood screws (not included).
-
Page 7: Example: Initial Switch Configuration
Connect a PC directly to the switch with a standard Ethernet cable. Before you connect the switch to the network, configure the IP Address and Subnet Mask for the PC. The IP addressing allows the switch to communicate with the switch through the Web browser on your PC. -
Page 8: Sfp Installation Notes
f. For Subnet mask, enter 255.255.255.0, then click OK. g. Click Close (or OK) to close the Local Area Connection Properties screen. 2. Open your Web browser on the PC, and enter the switch factory-default address, http://192.168.1.1, to access the switch’s Web interface. 3. - Page 9 Hot Swapping SFP transceivers. Supported SFP transceivers that you can install in your Hewlett Packard Enterprise OfficeConnect switch can be “hot swapped”. "Hot swapping" means supported transceivers can be removed and installed while the switch is receiving power. Disconnect the network cables from the SFP transceivers before hot-swapping them.
-
Page 10: Warranty And Regulatory Information
Warranty and regulatory information Safety Precautions Installation Precautions WARNING: • The rack or cabinet should be adequately secured to prevent it from becoming unstable, tilting, or falling. Devices installed in a rack or cabinet should be mounted as low as possible, with the heaviest devices at the bottom and progressively lighter devices above. -
Page 11: 1920S Switch Series Information - Regulatory And Safety
1920S Switch Series Information — Regulatory and Safety 1920S-8G 1920S-24G 1920S-48G 1920S-8G- 1920S-24G- 1920S-24G- Switch Switch Switch PPoE PPoE (JL380A) (JL381A) (JL382A) + (65W) + (185W) + (370W) Switch Switch Switch (JL383A) (JL384A) (JL385A) 1920S-48G- PPoE + (370W) Switch (JL386A) Electrical: For power, For power,... - Page 12 1920S-8G, 1920S-24G, 1920S-48G, 1920S-8G-PPoE + (65W), 1920S-24G-PPoE+ (185W), 1920S-24G-PoE + (370W), and 1920S-48G-PPoE+ (370W) Switches Acoustic 1920S-8G Switch, 1920S-8G-PPoE+ (65W) Switch, 1920S-24G Switch, and 1920S-48G Switch have no fan, 0 dB ; 1920S-24G-PPoE+ (185W) Switch, 1920S-24G-PoE + (370W) Switch, and 1920S-48G-PPoE+ (370W) Switch have fans, 45 dB Safety CSA22.2 No.
- Page 13 Wall plug-in power adapter Power adapter: (AC power cords are not used) specifications: 5066-5562 United States/Canada/Mexico • AC Input Voltage: 100–240 V • Maximum AC Input Current: 5184-5864 Continental Europe/Denmark/ 0.4 A Norway/Sweden/Switzerland/ • AC Input Frequency Range: Israel/ Vietnam/Indonesia 50/60 Hz •...
- Page 14 8121-0729 Argentina 8121-0735 Chile Complies with DoE Level VI. 1920S-24G, 1920S-24G-PPoE+, 1920S-48G Power Cords AC power cord: 8121-0837 Australia/New Zealand 8121-0943 China 8121-0731 Continental Europe 8121-0733 Denmark 8121-0564 India 8121-1004 Israel 8121-1143 Japan 8121-0737 South Africa 8121-0731 South Korea 8121-0738 Switzerland 8121-0964 Taiwan...
- Page 15 AC power cord: 8121-1486 Denmark 8121-1483 India 8121-1478 Israel 8121-1482 Japan 8121-1483 South Africa 8121-1479 South Korea 8121-1480 Switzerland 8121-1511 Taiwan 8121-1485 Thailand 8121-1475 United Kingdom/Hong Kong/Singapore/Malaysia 8121-0914 United States/Canada/Mexico 8121-1265 Brazil 8121-1481 Argentina 8121-1477 Chile 1920S-8G Switch (JL380A), 1920S-24G Switch (JL381A), 1920S-48G Switch (JL382A), 1920S-8G- PPoE+ (65W) Switch (JL383A), 1920S-24G-PPoE+ (185W) Switch (JL384A), 1920S-24G-PoE + (370W) Switch (JL385A), and 1920S-48G-PPoE+ (370W) Switch (JL386A) Russia/Belarus/Kazakhstan/CEE Safety:...
-
Page 16: Documentation Feedback
Japan Power Cord Warning: Documentation feedback Hewlett Packard Enterprise is committed to providing documentation that meets your needs. To help us improve the documentation, send any errors, suggestions, or comments to Documentation Feedback ( docsfeedback@hpe.com). When submitting your feedback, include the document title, part number, edition, and publication date located on the front cover of the document.